Play Welcome to Free Will
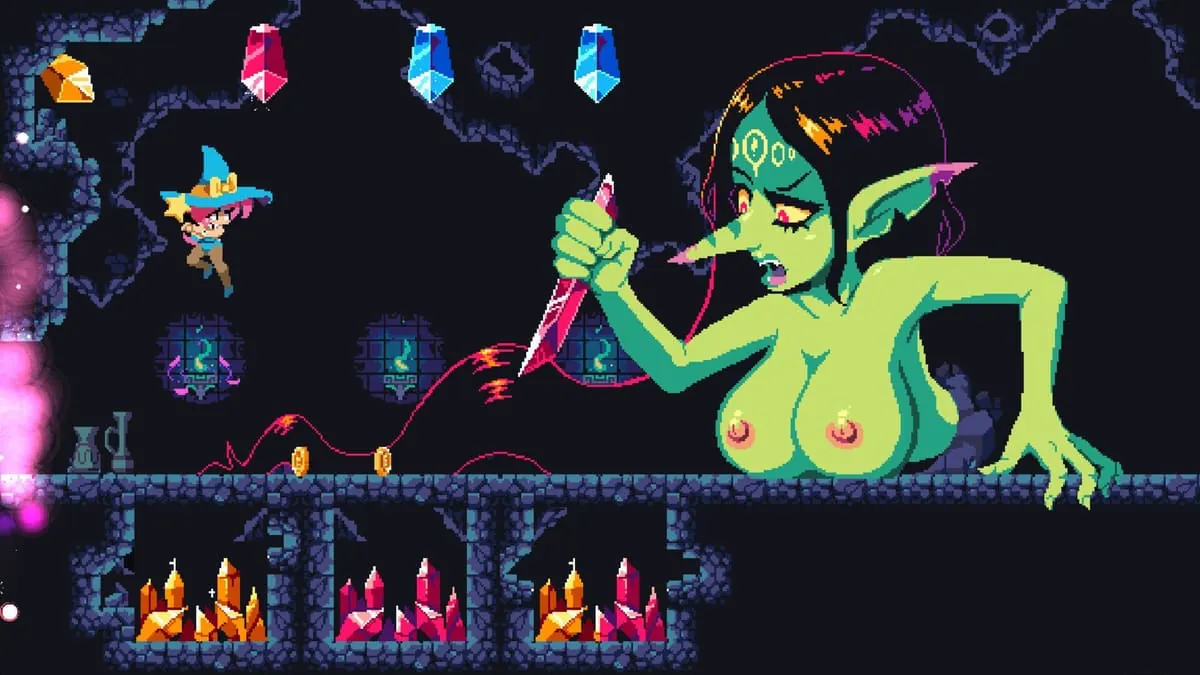
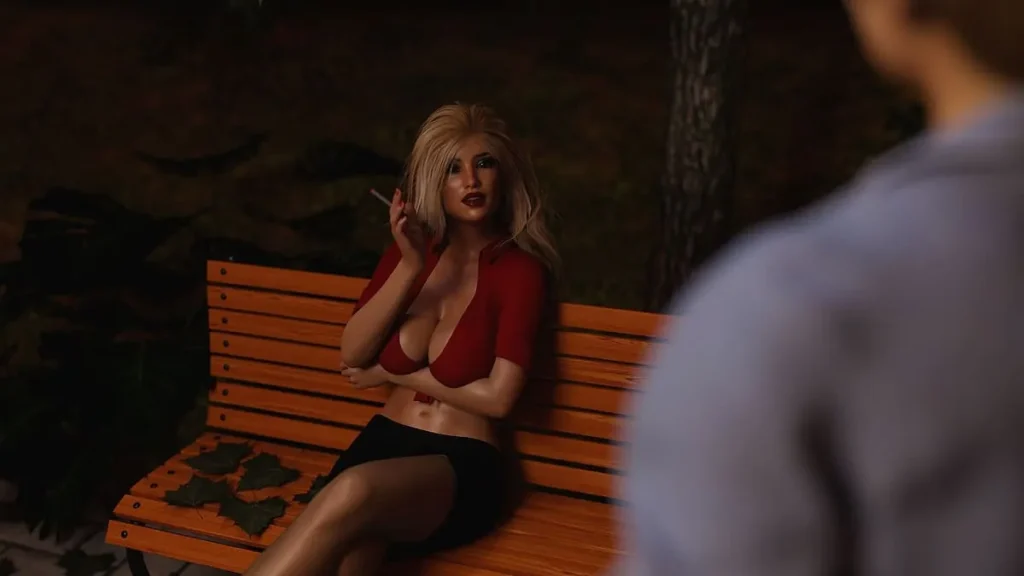
Welcome to Free Will Screenshots


Welcome to Free Will review
Dive into the thrilling choices and adventures of this captivating adult game
Ever stepped into a world where every choice shapes your destiny in the most unexpected ways? Welcome to Free Will hooked me from the first screen with its intense mix of strategy, puzzles, and bold adult themes that keep you on the edge. This game isn’t just play—it’s a personal journey through corridors of danger, mongrel battles, and mind-bending riddles. In this guide, I’ll share my own playthrough stories, from dodging early run-enders in the basement to mastering cultist showdowns. Whether you’re new or returning, get ready to unlock rewards, loot smartly, and conquer Free Will like a pro. Let’s jump in!
Mastering the Prologue: Your First Steps in Welcome to Free Will
Let’s be honest—that opening descent into the dungeon is terrifying. 😱 One minute you’re fleeing a city in chaos, the next you’re plunged into dark, trap-laden corridors crawling with otherworldly monsters. Your first foray into the Welcome to Free Will prologue is a brutal but brilliant tutorial that teaches you everything you’ll need to survive. I remember my first run ending embarrassingly fast in those initial hallways. But don’t worry, that’s what this Welcome to Free Will walkthrough is for. I’ve taken the hard knocks so you don’t have to. Let’s master this opening act together.
How Do You Survive the Opening Corridor Fights?
The moment you take control after the cinematic intro, the tension is palpable. You’re in a narrow, ruined hallway—welcome to your first Free Will corridor fights. The key here isn’t to bulldoze forward; it’s to be methodical. 🧐
First, buff up! Before you even move, check your companions’ abilities. Cast any protective spells like Mage Armor or Shield of Faith if you have them. That little bit of extra armor class (AC) can mean the difference between a scratch and a game-over screen. I learned this the hard way when my main character got critted by a cultist in my very first fight. Not a great start!
Positioning is everything in these tight spaces. Use the doorways and corners as choke points. Let your tankier companion (you start with one who can take a hit) step through first to draw enemy attacks, while your ranged damage dealers and spellcasters hang back and fire from safety. This is also your first lesson in the importance of the initiative roll—winning it can let you eliminate a threat before it even acts.
Pro Tip: Loot every single body and container you see from the very start. Ammunition, scrolls, and potions are scarce early on, and you’ll need every advantage you can get for the tougher fights ahead.
What Are the Best Strategies for Basement Mongrels?
After navigating the initial cultists and traps (more on those later), you’ll find a staircase leading down into a foul basement. The barking and snarling tells you all you need to know. This is where a solid basement mongrels strategy becomes non-negotiable. These twisted dog-like creatures hit hard and can inflict nasty conditions.
My biggest mistake was charging down the stairs. Don’t do that! 😅 You get ambushed from multiple sides. Instead, use the staircase itself. Here’s my step-by-step approach for a clean fight:
- Send a Scout: Have your stealthiest character (or use an invisibility potion) creep down just far enough to see the room. You’ll spot several mongrels scattered around.
- Retreat and Bottleneck: Pull your entire party back up to the top of the stairs. The mongrels will come to you, but they can only come up one or two at a time. This turns a chaotic brawl into a manageable, orderly slaughter.
- AOE is Your Friend: If you have any area-of-effect spells like Burning Hands or Grease, now is the time. Cast it at the top of the staircase as they cluster together.
- Focus Fire: Take down one mongrel at a time to reduce the number of attacks coming your way each round.
This basement mongrels strategy of using the environment will save you so much health and spell slots. Once the area is clear, you can explore safely. Be sure to check the western side of the basement for a hidden storeroom—it requires a Mobility check to access but holds some of the best prologue loot rewards.
Unlocking the First Puzzle: Paintings and Rewards
Ah, the paintings. This first puzzle paintings challenge stumped me for a good twenty minutes on my initial playthrough. In a room off the main basement, you’ll find four framed paintings on the walls. Interacting with them seems to do nothing at first. It’s your first real test of observation and logic.
The solution isn’t spelled out, but the clues are in the room. Look for a note or journal fragment (I won’t spoil the exact text!) that hints at a “noble lie.” The puzzle involves interacting with the paintings in a specific order that aligns with this theme. I must admit, after my third failed attempt, I just brute-forced the sequence. 🎨 If you get it right, a hidden compartment opens.
Here’s what you’re working for, and trust me—it’s worth the effort:
| Painting Puzzle Reward | Why It’s Valuable |
|---|---|
| Amulet of Natural Armor +1 | A straight, permanent boost to AC for any character. Incredible this early. |
| Scroll of Mage Armor | Essential for protecting your arcane casters or animal companions. |
| Gold & Gems | Early-game currency to buy crucial supplies when you reach the hub. |
CRITICAL WARNING: Do NOT sell the Amulet! It might be tempting for quick gold, but this is a cornerstone item that will serve you for many, many hours. This is one of the most valuable prologue loot rewards you can find.
Before you head upstairs to face the prologue’s climax, there’s one more deadly room: the chapel with the rows of pews. This is a masterclass in how to disarm traps Free Will. The floor is littered with nearly invisible pressure plates that trigger darts. You have two choices: meticulously disarm each one with a character skilled in Trickery, or simply avoid them altogether.
I recommend the latter for new players. 😬 Hug the walls, move carefully, and use the ‘highlight interactables’ key (default: ‘Tab’) to see the trap triggers glow red. If you do try disarming, quicksave first! A failed check can set off the trap and lead to a nasty surprise. Successfully navigating this room nets you more loot and sets you up for the final confrontation upstairs.
As you prepare to ascend, take a breath. Use any remaining healing. Ensure your party is buffed and ready. The lessons you’ve learned here—about positioning, scouting, puzzle-solving, and how to disarm traps Free Will—are the core skills of the entire game. Conquering this Welcome to Free Will prologue is your rite of passage. When you’re ready, head up. Your actions here will echo all the way to the gates of Defender’s Heart…
FAQ: Welcome to Free Will Prologue Quick Questions
Q: What’s the most common mistake new players make in the prologue?
A: Rushing. This game rewards patience. Scouting ahead, buffing before fights, and manually saving often will save you from countless reloads. Treat every new room as a potential threat.
Q: I’m stuck on the painting puzzle! Any hint?
A: The clue is about deception and a “necessary fiction.” Think about the order in which the subjects of the paintings might tell a story that hides an uncomfortable truth. The sequence is not random.
Q: How crucial is trap disarming? I keep failing the checks.
A: Very crucial, but you can often find alternate paths or simply tank the damage with a hearty character. It’s always worth having a companion with points in Trickery, but in the prologue, if disarming fails, just try to avoid the traps altogether and use healing afterwards.
From the heart-pounding prologue corridors to cracking that first painting puzzle, Welcome to Free Will delivers choices that feel truly alive and rewarding. My own runs taught me to loot everything, buff wisely, and never rush cultists without allies—lessons that turned wipeouts into victories. Whether you’re hugging basement walls or charging mongrels, this game thrives on smart plays and bold risks. Ready to dive deeper? Grab your gear, hit play, and share your epic tales in the comments. Your Free Will adventure awaits—what will you choose next?